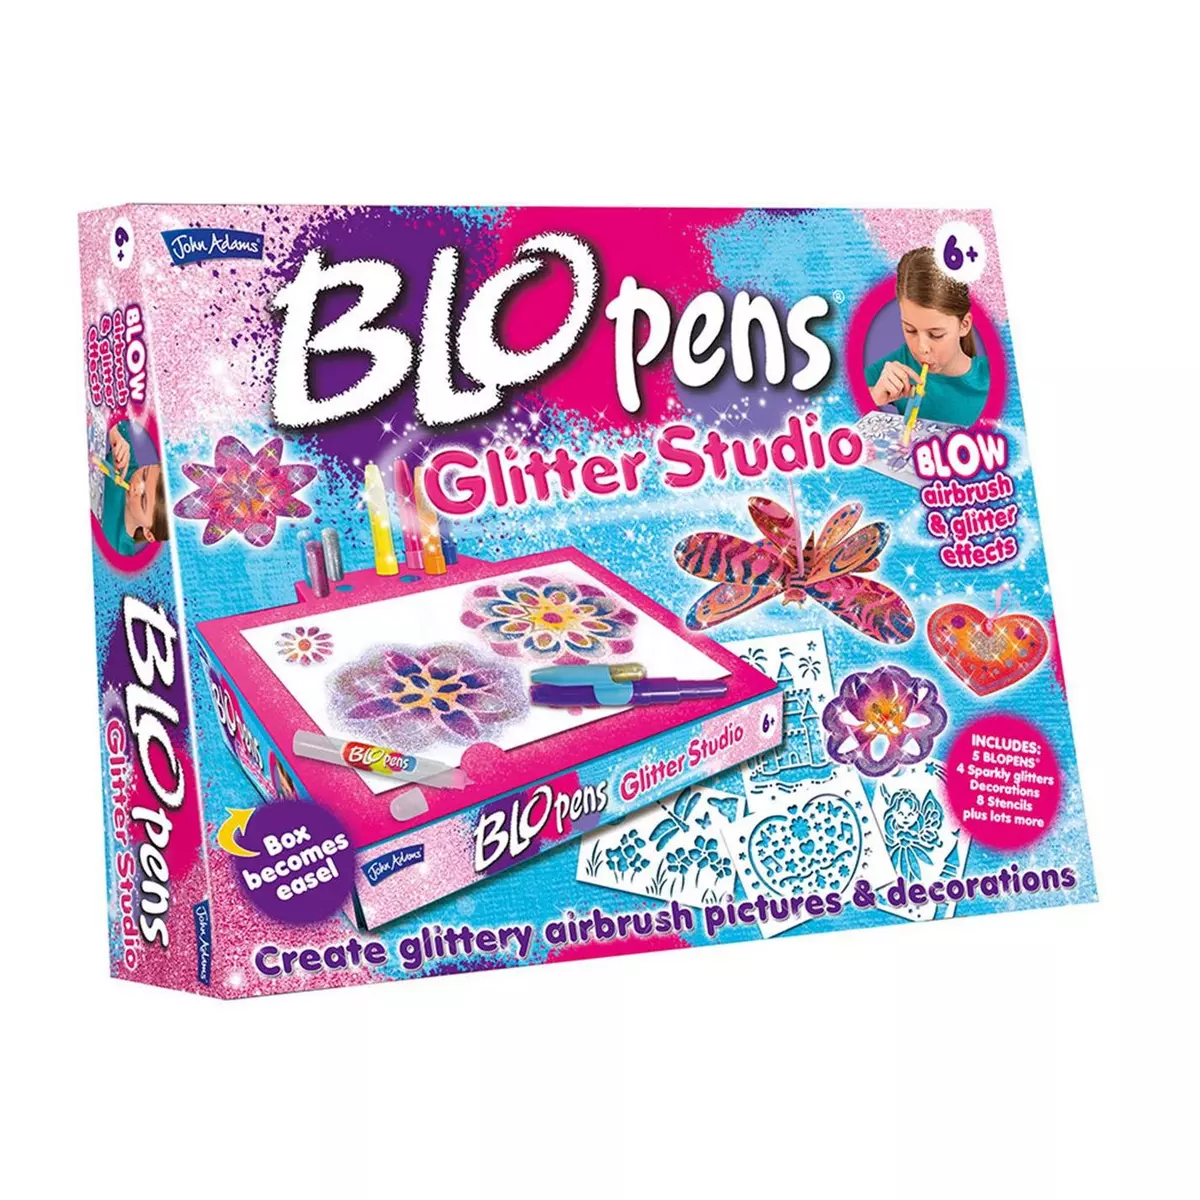
Blopens Glitter Studio
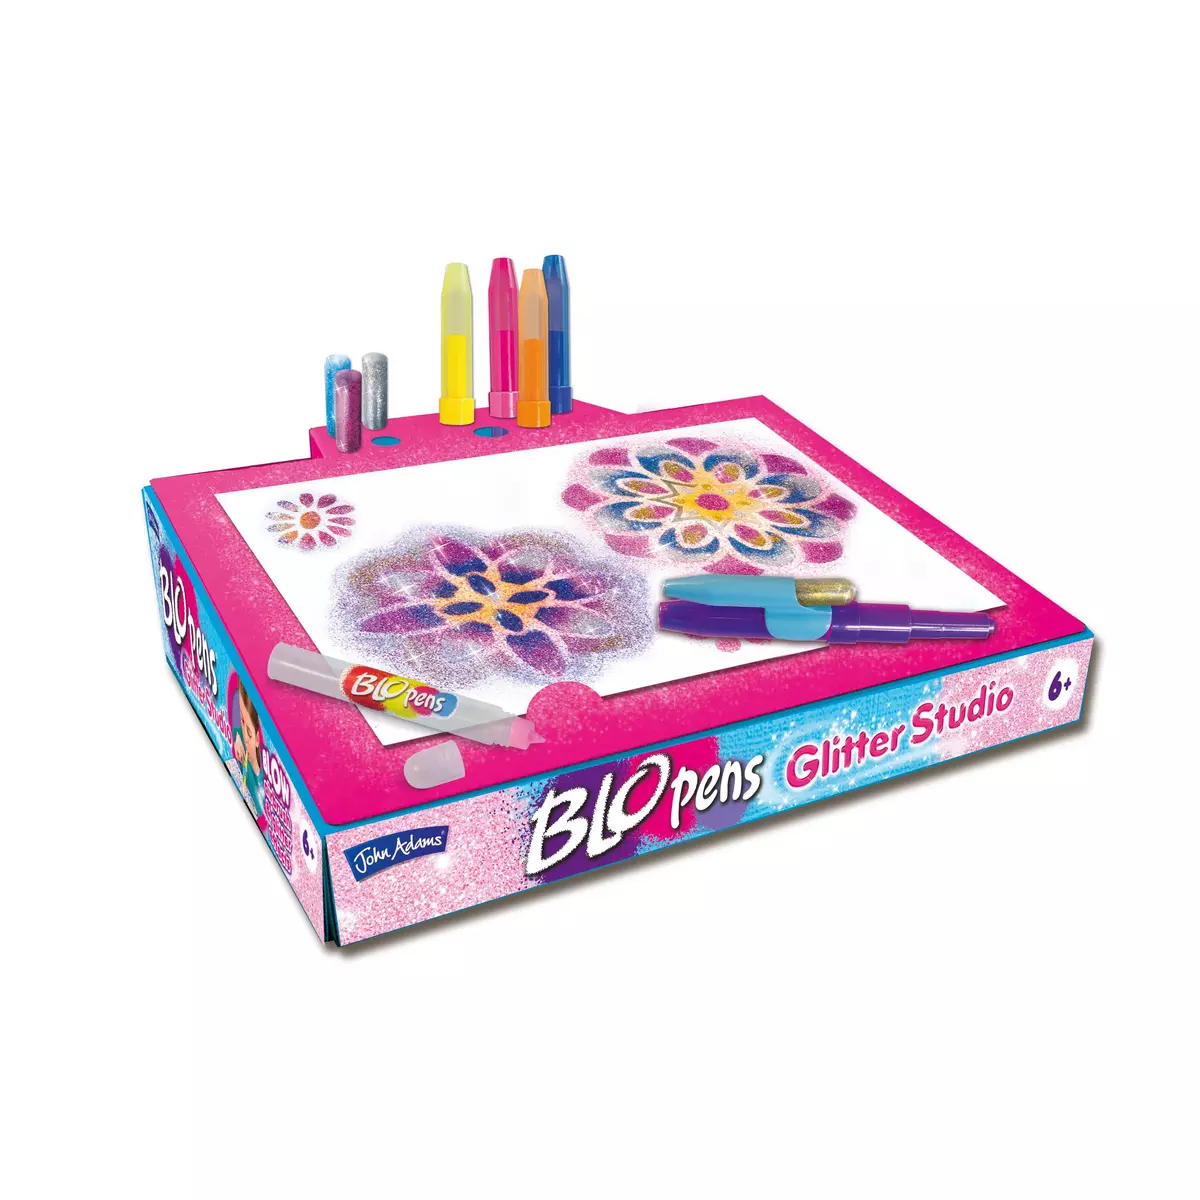
Intoducing the Blopens Glitter Studio. The Blo Pens Glitter Studio lets you colour and create decorations as well as make a beautiful butterfly mobile. The easel has lots of storage for your pens and glitters so that you have a mess-free work area. Suitable for kids aged 6+ years.
To use Blo Pens simply put one of the stencils onto a sheet of paper, blow through your pen and see your pictures appears with amazing airbrush effects. Add the glitter for extra sparkly details and shimmer.
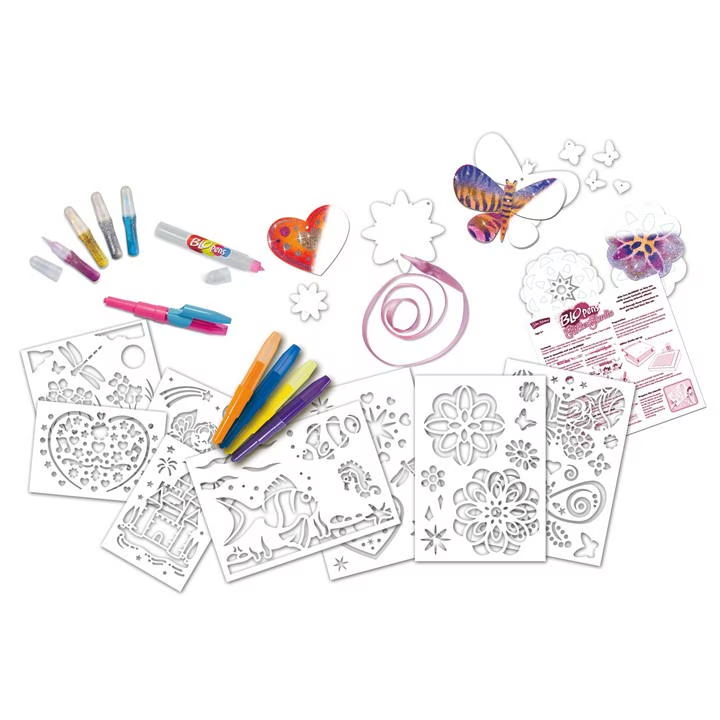
Contents:
- 4 x Glitter tubes
- 5 Blo Pens
- 3 Flowers
- 8 Stencils
- 1 x Glitter holder
- 1 x Butterfly mobile
- 1 x Glue Pen
How to use Blo Pens
Step 1
Blo Pens are really easy to use! If you’re using a stencil, first secure the stencil onto your paper by using a low-tac tape, like washi tape or masking tape.
Step 2
Each Blo Pen is made of a top (cap), a cartridge (the ink) and a mouthpiece (resembling a clear, long lid). Take the mouthpiece off the Blo Pen cartridge, and pull the Blo Pen cartridge out of the top to reveal the pen nib.
Step 3
Put the top onto the opposite end, over the pen nib, and push the cartridge all the way down so it sits snugly. Put the long, clear part – the mouthpiece – on the opposite end. As the name suggests, this is the part you blow through.
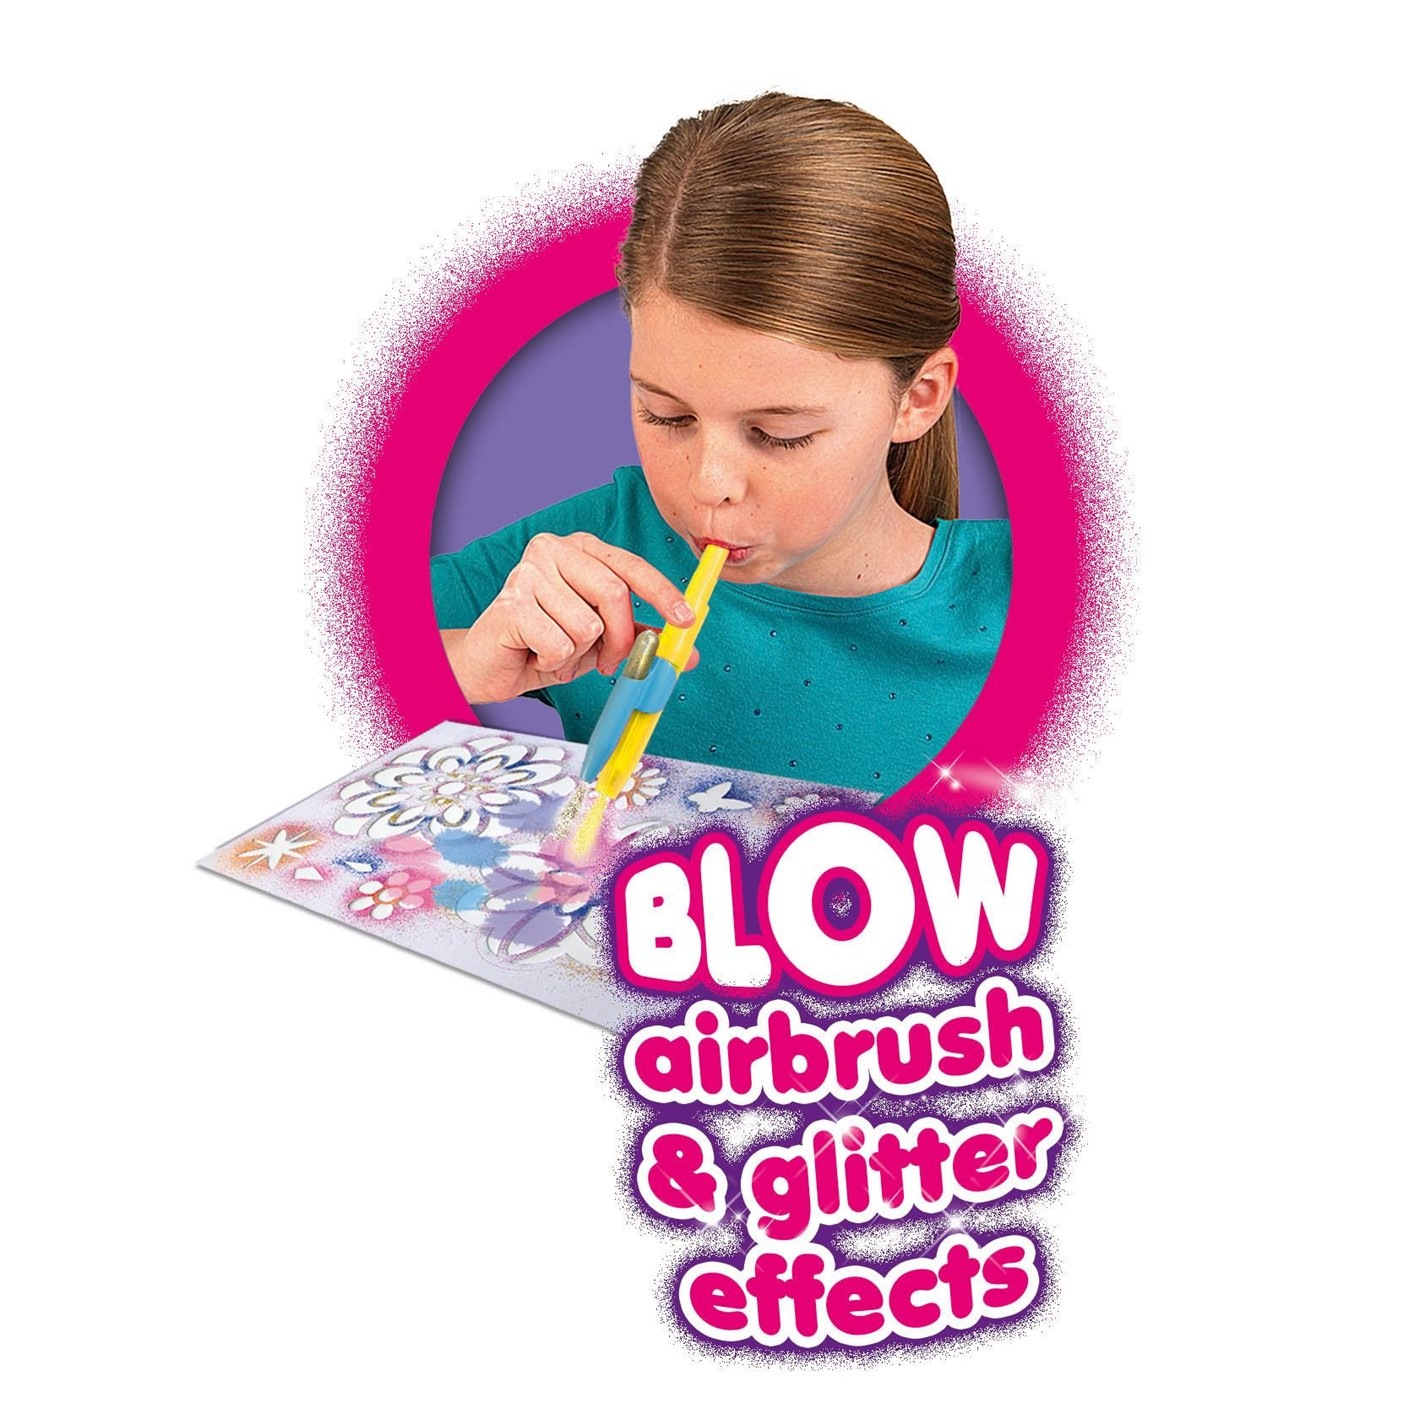
Step 4
Now, with the Blo Pen around 10cm away from the paper, blow through the end of the pen to create airbrush effects! Use stencils, or create abstract works of art by laying down strips of washi tape to create geometric patterns.
Step 5
Another great use for Blo Pens is to create airbrushed backgrounds that you can then paint or draw over. Painting silhouettes on top of the airbrushed backgrounds is particularly effective!
Step 6
If you’ve drawn your own picture and you want to use Blo Pens to colour it in – work with one colour at a time, and mask off areas you don’t want to spray. Use a low tac, easy-peel mask – something like washi tape or post-it notes (cut to shape), is ideal as it won’t leave a residue when you peel them off.
Delivery Charges are as follows:
- €5.99 for items weighing less than 30kg.
- €9.99 for some bulky items
- €9.99 shipping to EU countries up to 5kg
- €29.99 for items weighing over 30kg.
We use An Post, Fastway and GLS. Once we process an order we send an email with its specific tracking number.
Delivery Arrival
- We cannot guarantee a delivery time but will work to get the orders out as fast as humanly possible.
- World of Wonder are unable to take responsibility for any delivery delays which are outside of their control.
- Deliveries ordered over the weekend will be processed on Monday morning or Tuesday after a Bank Holiday weekend.
- An Post/ Fastway/ GLS delivery days are Monday to Friday inclusive.
- If you are unable to receive your order at your usual address, please state an alternative location to send the goods and arrange for someone to accept the delivery on your behalf therefore we do not ship to Storage Units or PO Box numbers.
You have the right to return all products for a full refund within 30 days from the date of delivery. As soon as we receive your return shipment, we’ll process your request and send you an email confirmation. Items are returned at customer’s own expense and it is recommended that you obtain proof of postage and/or insurance for the items posted, as World of Wonder accepts no responsibility for lost or damaged returns.
Please include your order number and the reason for return. Securely package the items you wish to return and address to:
World of Wonder
Springfort Retail Park
Nenagh, Co Tipperary
E45 HP94
For all other customer service queries in relation to your order please email [email protected]